
Table of Contents
- What Is Safe At-Home Keratin Hair Repair?
- Formaldehyde-Free Keratin Treatment: Safety First
- How to Fix Brittle Hair at Home with Keratin
- Keratin Treatment Aftercare Tips for Long-Lasting Results
- Comparing At-Home Keratin Options
- Common Mistakes That Damage Hair During Treatment
- Is At-Home Keratin Safe for Color-Treated Hair?
- Conclusion
Last Updated: August 20, 2026
What Is Safe At-Home Keratin Hair Repair?
Safe at-home keratin hair repair refers to formaldehyde-free treatments you can apply yourself to strengthen, smooth, and repair damaged hair without salon costs and time commitments. Unlike traditional salon treatments containing formaldehyde or harsh chemicals, modern at-home solutions prioritize hair health while delivering noticeable improvements in texture, frizz reduction, and elasticity.
At Kerarganic Cosmetics, LLC, we've worked with thousands of customers who've successfully repaired over-processed, brittle, and frizz-prone hair using formaldehyde-free keratin systems. The key difference between effective and ineffective treatments comes down to ingredient quality, application technique, and realistic expectations.
Your hair's cuticle becomes damaged through heat styling, chemical processing, and environmental stress. Keratin treatments work by filling gaps in the hair shaft and smoothing the cuticle, reducing frizz, improving shine, and restoring elasticity, without toxic fumes or expensive professional equipment.
Formaldehyde-Free Keratin Treatment: Safety First
Salon-grade keratin treatments have historically relied on formaldehyde as a chemical activator, posing health risks to stylists and clients. Formaldehyde-free treatments eliminate this concern by using alternative activation methods, typically glyoxylic acid or botanical-based crosslinkers, achieving similar results without toxicity.
When you choose formaldehyde-free, you're not sacrificing effectiveness. Hydrolyzed keratin still penetrates the hair shaft, bonds with damaged areas, and seals the cuticle. The difference is in the delivery mechanism, gentler chemistry safer for at-home use without professional ventilation.
Look for products explicitly stating "formaldehyde-free" on the label. Vague language like "low-formaldehyde" can be misleading. True formaldehyde-free treatments contain zero formaldehyde and zero formaldehyde-releasing preservatives. If you see DMDM hydantoin, diazolidinyl urea, or imidazolidinyl urea in the ingredient list, these release formaldehyde over time.
Kerarganic's DIY Organic Keratin Treatment Set uses a formaldehyde-free approach with organic components. The system includes a pre-treatment shampoo, the keratin treatment, and a post-treatment mask with argan oil, addressing the full repair cycle rather than relying on a single product.
How to Fix Brittle Hair at Home with Keratin
Brittle hair that snaps, breaks easily, and feels straw-like signals deep cortex damage from heat, chemical processing, or environmental stress. Keratin treatments rebuild the protein matrix that gives hair strength and flexibility.
Hair repair requires patience and precision. You can't simply apply a product and expect instant transformation. Repair happens in layers: the treatment fills structural gaps, then proper aftercare seals those repairs and prevents new damage.
Assessing Hair Damage Before Treatment
Before applying any keratin treatment, assess your hair's damage level honestly. Hold a section between your fingers and gently stretch it. Healthy hair stretches and returns to its original length; brittle hair snaps or breaks. Check for split ends extending more than half an inch up the shaft, visible breakage throughout the length, dull appearance, and excessive tangling. These indicate your hair needs deep repair work.
If your damage is severe, consider Kerarganic's Extreme Repair & Resilience collection, which targets severely compromised and fragile hair with intensive molecular reconstruction.
Also note your hair's porosity, its ability to absorb and retain moisture. High-porosity hair (damaged) absorbs treatments quickly but may not retain them as long. Low-porosity hair (dense, healthy) resists absorption but holds treatments longer once they penetrate. Understanding your porosity helps you adjust application time and product amount accordingly.
Step-by-Step Application Process
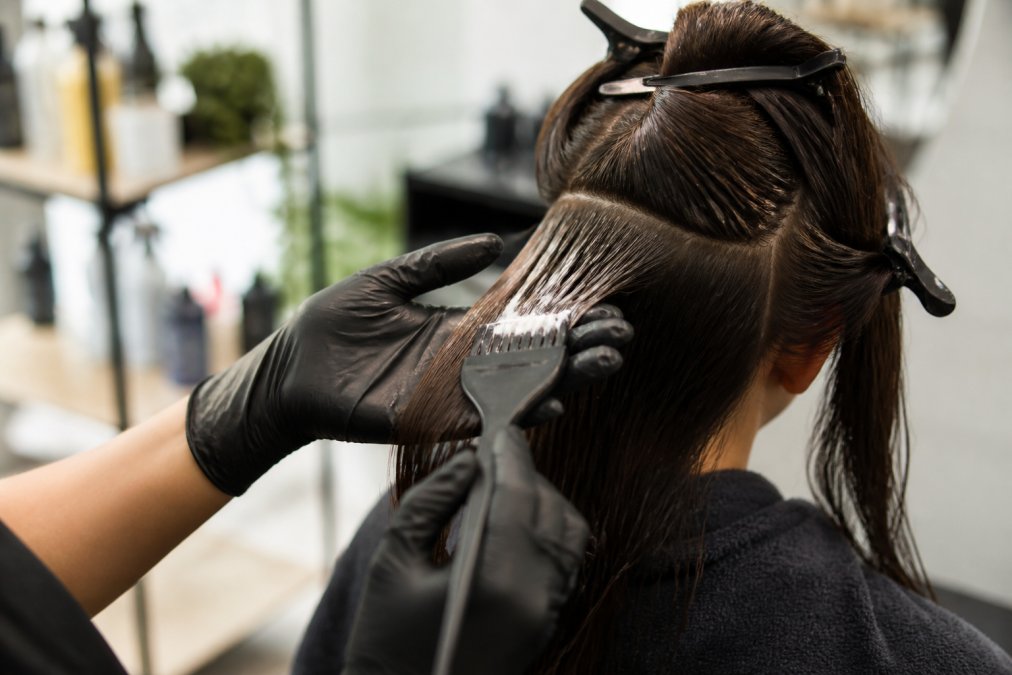
Step 1: Cleanse thoroughly. Use the pre-treatment shampoo included in your kit (or sulfate-free clarifying shampoo) to remove buildup, oils, and product residue. Keratin treatments need a clean canvas to bond effectively. Rinse completely with cool water.
Step 2: Towel-dry to damp. Your hair should be damp, not soaking wet or completely dry. Excess water dilutes the treatment; completely dry hair won't allow even penetration.
Step 3: Section your hair. Divide your hair into 4-6 manageable sections using clips. Smaller sections ensure even coverage and prevent missed areas.
Step 4: Apply the treatment. Starting with the nape of your neck, apply the keratin treatment from root to tip using a tint brush or your fingers. Work methodically, ensuring every strand is saturated. Most kits require 20-30 minutes of processing time. Set a timer.
Step 5: Rinse with cool water. After processing, rinse completely using cool water. Warm or hot water opens the cuticle and washes out the treatment. Continue rinsing until water runs clear.
Step 6: Apply the post-treatment mask. The mask seals the cuticle and locks in the keratin. Apply generously, leave on for 5-10 minutes, then rinse with cool water.
Step 7: Dry and style carefully. Blow-dry gently on medium heat. Avoid high heat for the first 48-72 hours after treatment, as the keratin is still setting. If you must flat-iron, use temperatures under 300°F with a heat protectant spray.
Keratin Treatment Aftercare Tips for Long-Lasting Results
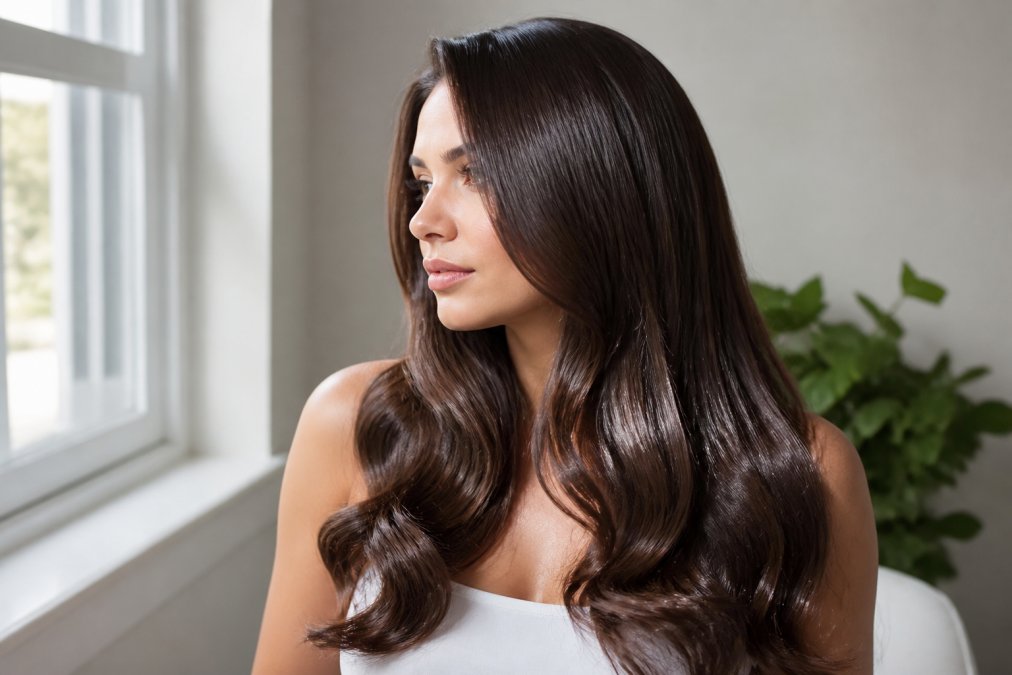
Aftercare determines how long your results last. Most at-home keratin treatments deliver 3-5 months of noticeable improvement, but that timeline depends entirely on how you treat your hair post-application. Neglect aftercare and results fade in 4-6 weeks. Follow these guidelines to extend results closer to the full 5-month window.
Use sulfate-free products exclusively. Sulfates strip moisture and break down keratin bonds. Switch your shampoo and conditioner to sulfate-free formulas immediately after treatment. Kerarganic offers post-straightening conditioner and maintenance shampoo specifically formulated to extend keratin treatment results.
Minimize heat styling for the first week. Your hair is most vulnerable during the first 48-72 hours. If you must use heat, keep temperatures below 300°F and always use a heat protectant spray.
Wash with cool water. Hot water opens the hair cuticle and allows keratin to escape. Cool water seals the cuticle and locks in the treatment.
Deep condition weekly. Use a hydrating mask or intensive conditioner once per week to replenish moisture and maintain hair elasticity.
Avoid chlorine and saltwater. Both damage keratin bonds and cause premature fading. If you swim, wet your hair with fresh water first and apply a leave-in conditioner to create a protective barrier.
Sleep on silk or satin pillowcases. Cotton pillowcases create friction that roughens the cuticle and causes breakage. Silk and satin reduce friction and help your hair maintain its smooth texture longer.
Comparing At-Home Keratin Options
The market offers several approaches to at-home keratin repair, each with different strengths and limitations.
| Treatment Type | Best For | Application Time | Results Duration | Effort Level |
|---|---|---|---|---|
| DIY Keratin Kits | Moderate damage, budget-conscious | 30-45 minutes | 3-5 months | Moderate |
| Maintenance Products | Extending salon results | 5-10 minutes | 4-8 weeks | Low |
| Intensive Repair Systems | Severe damage, over-processed hair | 60+ minutes | 6-8 weeks | High |
| Leave-In Conditioners | Daily care, light damage | 2-3 minutes | 2-4 weeks | Very Low |
DIY Keratin Kits vs. Maintenance Products
DIY keratin kits like Kerarganic's Organic Keratin Treatment Set are complete systems designed to deliver noticeable smoothing and strengthening in a single application. These include a pre-treatment shampoo, the keratin treatment, and a post-treatment mask. Most people see significant frizz reduction and improved manageability after one application. The disadvantage is time: application takes 30-45 minutes plus drying time.
Maintenance products are designed for people who've already had a keratin treatment and want to extend those results. These include sulfate-free shampoos, conditioners, leave-in treatments, and intensive masks. They don't create new keratin bonds; they protect and seal existing ones. If you've invested in a salon keratin treatment, maintenance products are essential. Without them, results fade in 4-6 weeks. With proper maintenance products like Kerarganic's post-straightening collection, you can extend results to 8-12 weeks or longer.
Results and Longevity You Can Expect
At-home keratin treatments deliver real results, but they're different from salon treatments. Professional treatments use heat activation and higher-concentration formulas, producing more dramatic straightening and longer-lasting results. At-home treatments prioritize safety and ease of application, so results are subtler and shorter-lasting.
Expect these realistic outcomes: frizz reduction typically drops by 50-70% in the first week. Hair texture improves noticeably, brittle, straw-like hair becomes softer and more manageable. Styling time decreases significantly. Straightening effect varies by hair type: fine or straight hair shows more dramatic straightening; curly or textured hair shows smoothing and frizz reduction while retaining its natural curl pattern. Results last 3-5 months with proper aftercare, fading gradually rather than disappearing suddenly.
Common Mistakes That Damage Hair During Treatment
Even quality products fail when application technique is poor. Here are the mistakes that sabotage results:
Applying to soaking wet hair. Water dilutes the keratin treatment, reducing effectiveness and causing uneven coverage. Your hair should be damp, not dripping.
Skipping the pre-treatment shampoo. Product buildup, oils, and silicones create a barrier preventing keratin from bonding to the hair shaft. Skipping this step wastes your treatment.
Uneven application. Sections you miss won't improve and will stand out visually. Take time to section carefully and apply methodically.
Rushing the processing time. Keratin needs time to bond with hair. Rinsing too early prevents full penetration. Set a timer and wait the full recommended time.
Using hot water to rinse. Hot water opens the cuticle and allows keratin to escape. Cool water seals it in.
Applying heat too soon. The first 48-72 hours are critical. Excessive heat during this window can damage keratin bonds before they fully set.
Switching to regular shampoo immediately. Sulfates strip keratin and cause premature fading. Commit to sulfate-free products for at least the first month.
Not deep conditioning. Keratin treatments can feel drying initially. Weekly conditioning is essential to maintain moisture balance and repair benefits.
Is At-Home Keratin Safe for Color-Treated Hair?
Yes, properly formulated at-home keratin treatments are safe for color-treated hair and often beneficial because they repair damage from the coloring process. Chemical color processing damages the hair cuticle and depletes protein, making color-treated hair vulnerable to breakage and dryness. Keratin treatments address these exact problems.
Choose products specifically formulated for color-treated hair. These include anti-fading complexes and UV protection that prevent color from washing out during treatment. Kerarganic's Restorative Collection includes an engineered anti-fading complex specifically designed to protect color while repairing damage.
Timing matters when combining keratin treatment with hair coloring. Wait 1-2 weeks after coloring before applying a keratin treatment to allow color to fully set and the hair cuticle to stabilize. If you must color-treat hair that's already had keratin treatment, wait at least 2-3 weeks after the keratin application.
The sequence is important: color first, then keratin treatment. Coloring after keratin treatment can strip some benefits, though not dramatically. Use sulfate-free color-safe shampoos and conditioners to protect both the color and the keratin treatment simultaneously.
Color-treated hair is typically higher-porosity because the coloring process opens the cuticle. This means it absorbs keratin treatments more quickly but may not retain them as long. Adjust your application time slightly shorter and focus on deep conditioning to maintain moisture balance.
Conclusion
Safe at-home keratin hair repair works when you choose formaldehyde-free products, apply them correctly, and commit to proper aftercare. Results aren't as dramatic as professional salon treatments, but they're real, noticeable, and achievable on your own schedule without toxic chemical exposure.
Kerarganic Cosmetics, LLC offers formaldehyde-free keratin solutions designed specifically for at-home use, including their DIY Organic Keratin Treatment Set for initial repair and their Organic Premium Home Care Bundle for maintaining results. Both products deliver strengthening, frizz-reduction, and shine enhancement without harsh salts or sulfates that compromise long-term hair health. Start with honest assessment of your damage level, follow application steps carefully, and treat your hair with sulfate-free products afterward. That combination delivers lasting results and genuinely healthier hair.
Frequently Asked Questions
Is it safe to do a keratin treatment at home?
Yes, formaldehyde-free at-home keratin treatments are safe when you follow application instructions carefully. The key is choosing products specifically labeled formaldehyde-free and avoiding prolonged heat exposure beyond recommended temperatures. Patch testing on a small hair section first identifies any sensitivity. At-home kits give you control over processing time and product quality, making them a viable alternative to salon treatments when safety precautions are followed.
What ingredients should I avoid in at-home keratin kits?
Avoid products containing formaldehyde, formaldehyde releasers, and harsh sulfates that strip hair of moisture. Look instead for hydrolyzed keratin, glyoxylic acid-based formulas, and nourishing oils like argan oil. Check labels for sulfate-free and formaldehyde-free certifications. Ingredients that support the hair cuticle, such as proteins, amino acids, and deep conditioning agents, strengthen rather than damage hair during treatment.
How long does an at-home keratin treatment last?
Most at-home keratin treatments deliver visible results for 3 to 5 months, depending on hair porosity, washing frequency, and heat styling habits. Results gradually fade as the keratin bonds weaken with each wash and environmental exposure. Using sulfate-free shampoos, limiting heat styling, and applying keratin treatment aftercare products like leave-in conditioners and serums extends longevity significantly.
Can I do a DIY keratin treatment if my hair is color-treated?
Yes, formaldehyde-free keratin treatments are safe for color-treated hair when you use products designed with color protection in mind. Look for treatments that include UV filters and anti-fading complexes to prevent color loss. Always apply a strand test first, wait at least 48 hours between chemical services (like coloring and keratin treatment), and follow aftercare instructions to protect both color vibrancy and treatment results.
This article was written using GrandRanker